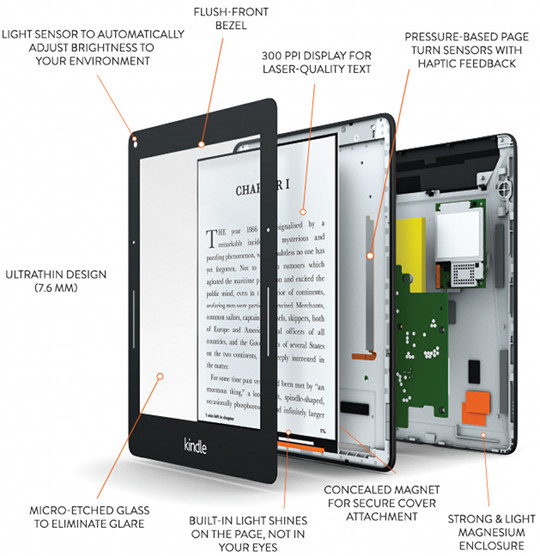
When Amazon released the Kindle Voyage and $79 Kindle Touch last fall, they came with newer software that completely blocked previous jailbreaking methods. It’s the same story with the new Kindle Paperwhite 3, and the older Paperwhites all have the newer software as well.
It all started with the release of software version 5.6. To this day no one has found a way around it to get the old easily-installable jailbreaking methods to work.
But the 5.6.x firmware it’s completely impenetrable. There is one method that works for jailbreaking newer Kindles. It is referred to as the serial port jailbreak method.
It’s more complicated than software-based methods because it requires taking the Kindle apart and soldering wires to the motherboard to attach a serial cable that you can connect to a computer to run the jailbreak.
The process definitely requires more technical prowess than before. Most people aren’t willing to go through that much trouble just to jailbreak their Kindle.
But if you’re the kind of person that likes a challenge and is comfortable enough with taking apart your Kindle and soldering wires to its innards, there’s a new guide to help walk you through the process from beginning to end.
Here’s the link to the Step-by-Step Serial Jailbreak Guide at MobileRead.
The guide is written specifically for the Kindle Voyage with firmware 5.6.2.1, but the overall process is the same for the Kindle Paperwhite and $79 Kindle, though some of the specifics will differ for each model.
Things you’ll need to get the job done include a 1.8v USB TTL serial cable, 28-36 gauge wire, soldering equipment, and a Linux PC or virtual machine.


Anyone tried this? Seems like a pretty good way to FUBAR the device.
Big title, nothing to read, link dead, so what? Just another useless page in the web!