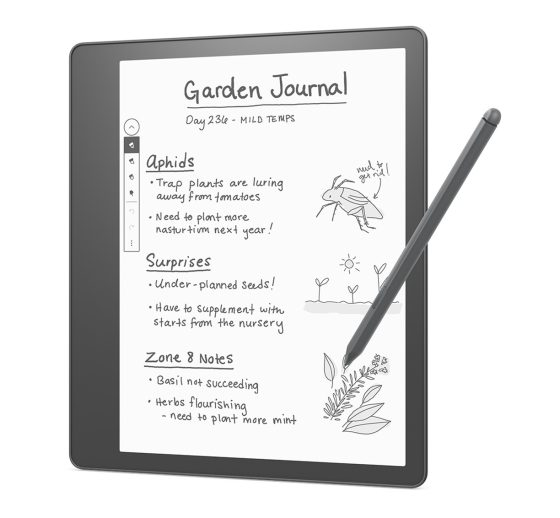
Here’s an interesting tip that I hadn’t noticed about getting notebooks off the Kindle Scribe over USB.
There’s this post over at reddit that explains how to access PNG images directly on the Kindle Scribe for each Notebook added to the device.
However, the PNG file is only generated for the cover image of the Notebook. You can change which page is shown as the cover image on the Kindle Scribe so technically you can get a PNG of any note page that you add to your Scribe, but that image will get overwritten if you switch to a different cover image so there are some limitations with this method.
Still, it’s nice to know that you can easily get a PNG image of any Notebook (not notes added to ebooks or PDFs) that you add to your Kindle Scribe without having to rely on Amazon to send the exported file or having to have an active internet connection.
The resulting PNG thumbnail is a high resolution image with a 1860×2480 resolution.
How to Access PNG Files
To access the PNG files on a Windows computer, just connect the Kindle Scribe using a USB cable and open the .notebooks folder and then open the thumbnails folder.
Apparently on Mac computers, you have to press Command + Shift + . to show hidden files/folders on the Kindle Scribe’s drive in order to see the .notebooks folder, as noted in the reddit post (on Windows the folder shows up automatically without having to show hidden files).
It would be nice if each Notebook had its own set of images for every page that was accessible this way without having to set different cover images for each page, but at least it’s possible to change the page manually if you need access important notes via USB.
via: reddit


Leave a Reply