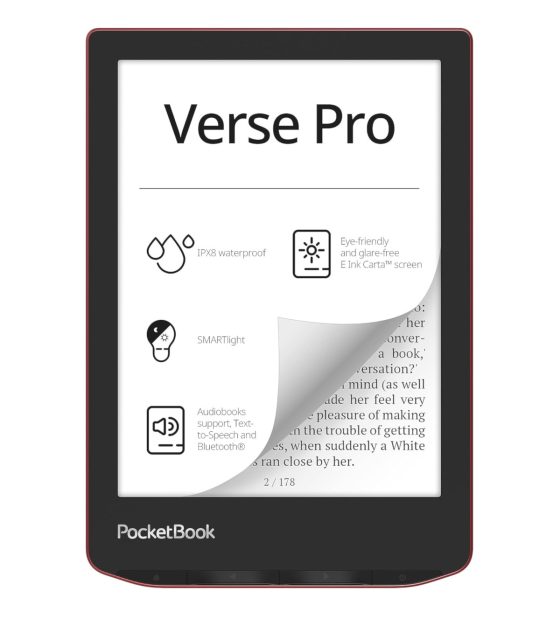
While reviewing the new PocketBook InkPad Color 2, I was critical of PocketBook’s seemingly random selection of font choices that don’t appear to be optimized for E Ink screens at all, and I posted an article complaining about how PocketBook doesn’t support adding your own fonts to their ereaders.
Some folks were kind enough to point out a way to add custom fonts to PocketBooks, but it wouldn’t work for me because the PocketBook system folder doesn’t show up when you plug a PocketBook into a Windows computer.
However, I finally figured out how to access the system folder in order to install custom fonts so I thought I’d explain how it works here.
Unlike Kindles and Kobos that allow you to easily install custom fonts in a folder on the root of the drive, PocketBook’s require you to install the fonts in a hidden part of the system folder.
There’s no mention of installing custom fonts in PocketBook’s user manuals so it doesn’t appear to be an officially supported feature, but it does seem to work this way so it’s worth a try if you don’t like PocketBook’s included font choices.
How to Add Fonts to PocketBooks
1. Plug your PocketBook into your computer using a USB cable and select the PC link option to connect your PocketBook to your computer.
2. I’m not sure how it works on Macs, but on Windows it doesn’t show a “system” folder on the PocketBook even if you have show hidden files enabled.
To get to the system folder you have to enter it into the File Explorer address bar manually, like this E:\system. Use whatever letter drive your PocketBook is showing on your computer; it might not be E. But either way you just have to type “system” after it in the address bar.
3. With the system folder now in view, you’ll notice a fonts folder. Just open that and add your custom font types to the folder (there are usually multiple files for the same font type for bold, italic, etc).
4. Eject the PocketBook from your computer and then it should be good to go. You’ll find your custom fonts in the font selection menu along with the preloaded fonts.


As additional information, you can also customise the 3 line spacing and margin options that appear in the book settings by editing the files:
system/reader/linespacing.cfg
system/reader/margins.cfg
Cool, thanks for the tip.
Un grand merci pour ces astuces. Je ne savais pas comment “forcer” et voir les fichiers cachés de mon PocketBook !!
Thanks for the article. Would you mind suggesting some fonts that you found worked well on the pocket book? The default ones are a little fine for my taste?
I pretty much only use Merryweather but I don’t know where you’d find it. I got it off my old Windows 7 PC but Windows seems to hide the font folder on newer versions of Windows. ChareInk is pretty good for E Ink too. There’s also Google Fonts.
Thanks, I’ll take a look at those fonts.
guide for Macs:
after connecting go to device > in the main folder do Command + Shift + .
Done! Now you can see a hidden folder System.