
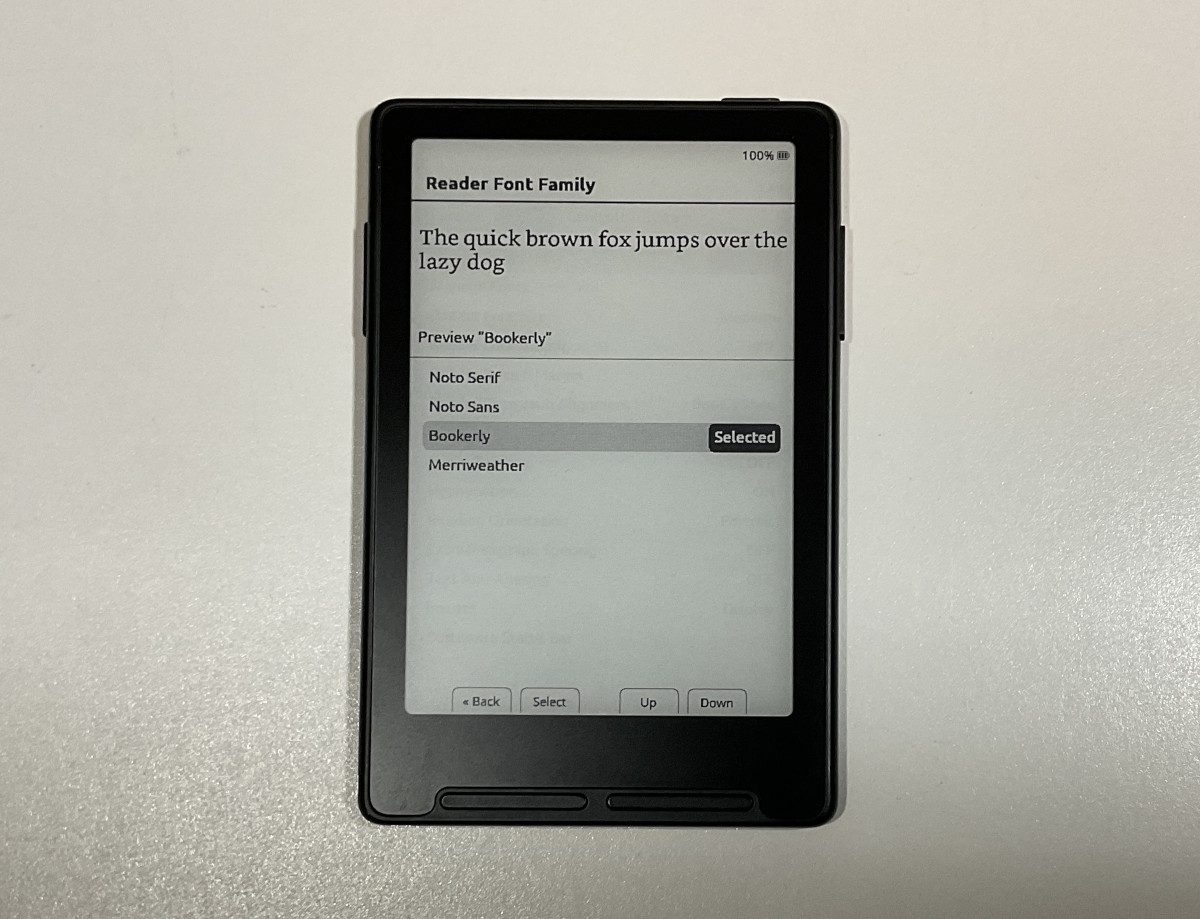
One of the cool things about running CrossPoint on the Xteink X3 and X4 (and probably the new X4 Pro) is you can download a selection of additional font types from the settings menu, but if you’re like me and you already have your own favorite font type, you can also add it to the X3 and X4 with a few additional steps.
It’s not quite as easy as Kindles and Kobos where you just add a fonts folder with a selection of fonts to the root drive, but it’s a similar approach; you just have to convert the fonts to a compatible format first, and you can do that from this Font Builder page on the CrossPoint website.
While using the Xteink X4 with CrossPoint 1.2 I got used to the Bookerly font type that it used, but on later versions of CrossPoint they had to get rid of Bookerly because of licensing reasons since it’s Amazon’s own custom font type that they developed for Kindles. But you can still add it back manually if you want. That’s what I did with the X3 on CrossPoint 1.4.1.
How to Convert Fonts
If you already have your favorite TrueType or OpenType font, just head over to the Font Builder page on the CrossPoint website to upload and convert your TTF or OTF font to .cpfont format to add to your Xteink ereader.
If you don’t have a favorite font type, you can find some online. Some are paid and some are free, but you’ll probably want to find something that’s optimized for E Ink screens.
If you want something that’s nice and bold but not too bold, I’d recommend trying ChareInk. You can see an example of it on this earlier post (pictured on the left) when I added it to the PocketBook Era Lite.
I like how Bookerly looks on smaller screens and it has a decent amount of weight to it so that’s what I opted to install on my X3. If you want to use Bookerly too, you can get it from CrossPoint 1.2 at Github. Just download the source code zip file, then unzip it. You can find the Bookerly font by going to lib > EpdFont > builtinFonts > source > Bookerly.
Whichever font type you choose, take the four files (BoldItalic, Italic, Regular, and Bold) and upload them to the Font Builder page and follow the directions from there (most of the settings are optional, and you can customize the font size from there too). Then you can download the four corresponding fonts in .cpfont format and add them to your Xteink ereader.
How to Install Fonts on Xteink eReaders
The install directions are at the bottom of the Font Builder page. You can install fonts wirelessly or add them to the microSD card manually.
I used the SD card method so all I did was remove the microSD card from my X3 and then I plugged it into my computer using the included USB adaptor. From there all you have to do is open the .font folder and then create a new folder for each specific font type (like Bookerly) and then add the four .cpfont files inside that folder. That’s it. Eject the microSD card and put it back in your Xteink device and your new font types will show up in the settings menu where you can select them.
For me, the main problem with these devices is the font rendering and the screen refresh. If you’re not too fussy about typography, you’ll be able to put up with it and might not even notice, but I’ve tried all the CrossPoint forks, I’ve created my own fonts, and I still haven’t managed to achieve a result that fully satisfies me. I’m very happy with the design and size of the devices, but I still find reading on them uncomfortable. That’s not the case with the old Y-Ben, with its retro look but simple Adobe-based reading software. And certainly not with the modern Viwoods AiPaper Reader, which is bulkier and far more expensive, but which I can still carry in my pocket, achieving a proper text display in any Android reading app. So I still have mixed feelings about Xteink. I have to make a conscious effort to really enjoy reading on their devices.
(Let’s see if Onyx Boox’s entry into the market for devices of this size is confirmed, because that could indeed bring a leap in quality in this specific area, although it will undoubtedly present problems in other respects).
Like you said in previous posts, everyone’s preferences are different. I really dislike using Android apps on E Ink. There’s always some annoying issue with ghosting or something not displaying properly, or excessive flashing, improper refreshing, fonts being too thin, etc. And battery life is always comparatively terrible with Android. If these ran Android I wouldn’t want anything to do with them. It’s a good thing there are plenty of options so we can all find something we like using.
It’s true, Android does have other drawbacks.